Vim: Buffers
Understanding the basic unit of Vim for working with files.

I am a Student, self-taught web programmer, Linux and Vim Enthusiast. I like to try out and experiment with new technologies and programming languages.
Introduction
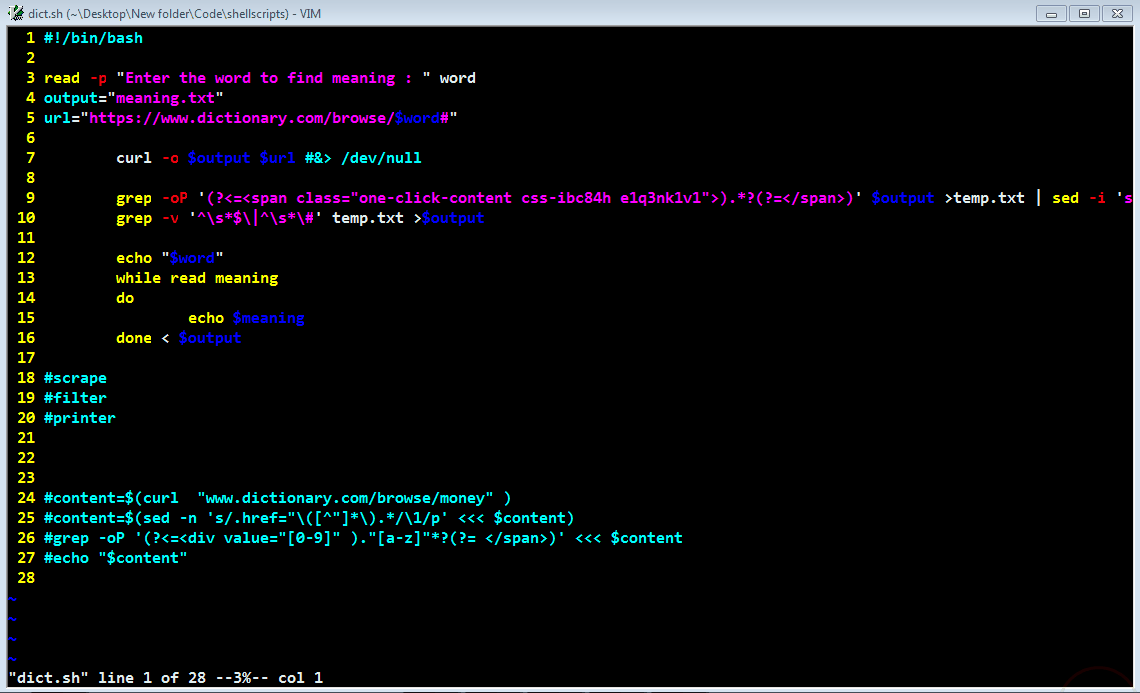
I have talked about Vim tabs, window splits in the previous articles, and now I am quite keen on explaining the finest unit of file that you can open using Vim and that is a buffer. Tabs are a collection of windows, Windows are the viewport on buffers (collection to view the buffers), and Buffers are the memory that holds text in the file. So let us explore buffer in detail. This article won't cover each and every tiny detail about buffers but surely enough to make you understand what a buffer is and how to manage those.
What is a Vim buffer
Vim buffers are the chunks of memory that hold the text in a file. Vim buffers are used from opening a file to using, installing, upgrading the Plugins, using file managers, and everything you can edit and work within Vim.
So, why bother using Vim buffer, you'll ask. Well, you will need it to make some complex tasks possible in Vim, such as configuring it as your IDE or having much more control over what and how you open and close files in Vim. You might not need it in the broader sense but having a grasp of what you are using and understanding the process under the hood is vital whatsoever.
Creating a buffer
No need to create a buffer, if you are editing a file, that's already a buffer :) If you open Vim, a fresh open, then you already have that current buffer as an empty buffer. You can create an empty buffer by entering the command :enew. This will actually make a new empty buffer, if you have edited the contents of the previous buffer you need to specify to write/save the buffer in a file.
You can see the details of the buffers opened currently by using the command :ls or :buffers. This will open a list of buffers currently loaded in the Vim instance. You will see the output somewhat like this:
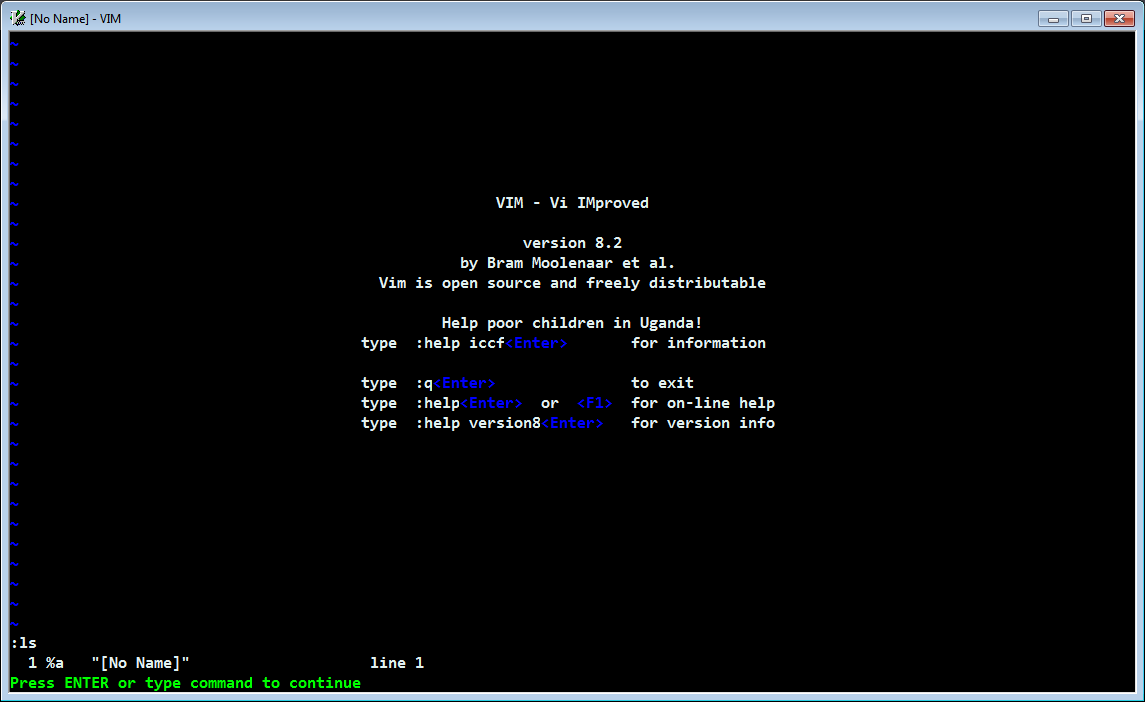
We can see the name of the current buffer which in this case it is "No name" this will be replaced with a file name if we had a file open. This won't only print the current buffer but all the loaded buffers in the present Window of Vim. We will explore the details of this command in the next section.
Navigating through the buffers list
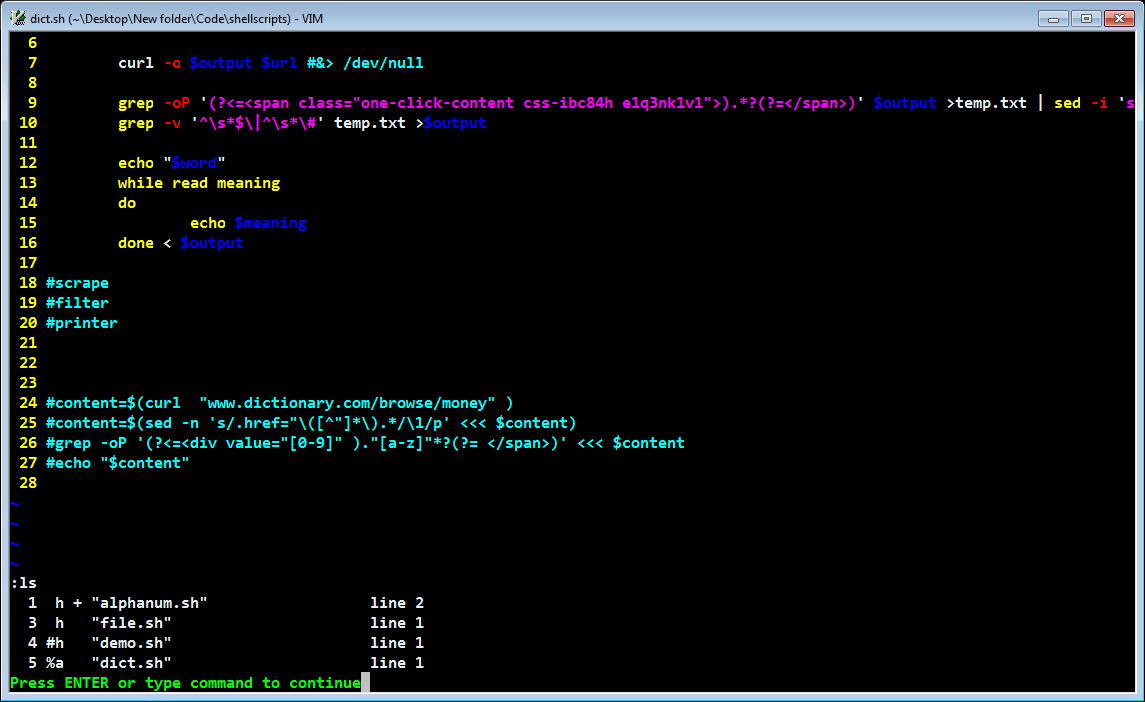
In the first column in the only row, you can see 1 indicating the number of the buffer, secondly, there are indicators %a and # and others as well. These are used for referencing the buffers using certain attributes those have like :
%stands for the buffer in the current window.astands for the currently active buffer.#stands for the alternate buffer (previously edited).hstands for the hidden buffer ( used for navigating to other files without saving changes ).
We also have additional attributes or indicators for the buffers like:
+indicating the buffer is modified.-indicating the buffer cannot be modified.=indicating the buffer is read only.
To use the attribute h, you have to set the option in the current window only, you can use :set hiddden to hide the files i.e to edit another file without saving changes to the current buffer(with the file loaded). If you want a permanent option of hidden files you can add set hidden in your vimrc file.
If you have enabled a hidden file in the window and you modify the file, you can see the + symbol in the :ls command output before the file, indicating that the file has been modified. If you try to quit the window, it will prompt you to save those unsaved modifications.
This is the power of Vim buffers, you can get really fast in terms of editing multiple files and saving all of them at once. This feature can allow you to work more effectively and flawlessly with Window Splits and Tabs as they can contain multiple buffers within them.
Now we will see how to move between those buffers. We can pretty effectively use the numbers in the buffer list to directly jump to that buffer. We can use :b n where n is any number of the buffer in the list of buffers to move through the buffers. Optionally we can use :buffer n but that is quite a long command.
We can move to the previous buffer as :bp to move to the previous buffer in the list. Similarly, we can use :bn to move to the next buffer in the list, and :bfirst and :blast to move to the first and the last buffer respectively.
Moving through the buffers
We can move through our opened buffers using Ctrl + o to move backward a buffer and Ctrl + i to move forward a buffer. This can be helpful if you do not want to remember the numbers associated with the buffers.
We can scan through the current buffers opened and jump through them one by one and it becomes quite effective in switching between few files. This could probably be suited for Web development where you can hop between HTML/CSS/JS files or in Android development for java/XML files, and so on you get the idea for using it as per your needs.
Deleting buffers
Now we will see how to delete the loaded buffers, we can simply use :bd n where n is the number of the buffer in the list to delete the buffer, optionally we can use :bd filename to delete the buffer loaded with that file.
We can also delete a number of buffers at a time using a range of buffers like :n,mbd where n is the first buffer and m is the last buffer. We will delete every buffer between n and m including n and m using the above command.
Just a quick fact, if you do not delete buffers, they will stay in memory even if you use :q they won't get erased from the buffer list, you are just exiting the buffer view and not removing the buffer from the current memory. This can get really messy if you are opening too many files and keeping them in memory.
Creating splits in buffer
We can even create splits in buffers, basically a window split but we will see this with the view of buffers this time. To create a horizontal split, we can type in :new filename to open the file in the split. We can even create a vertical split with :vnew filename to open a vertical split with the provided file.
We can see some wired things in the ls menu if we open a new tab in the current instance of Vim. The list command shows all the buffers in the current Tab as well as in the previous tab.
We can also open buffers in splits by using numbers or file names. We can use :sb n to open the contents of the buffer n(any number of buffer), and with :sb filename to open the file in a split this will only be a horizontal split.
We can use :sba to open all the buffers in the split windows. This can be quite handy to find any file which you cannot remember was edited or wanted at the moment, this opens every buffer loaded in the current instance. We can also use :sbp and :sbn to open the previous and next buffer respectively in a split.
Additionally, we also have :vertical ba and :ba (:ball)to open all the buffers in vertical and horizontal splits respectively.
Also, We have :tab ba or :tab ball to open all the buffers as tabs in the current instance.
You can add more layers of effectiveness or customization using keymaps to split certain buffers and make use of the above set of commands more powerful and make them work according to your needs.
Conclusion
So, from the above sections, we were able to see what happens under the hood when you open, close, or edit a file in Vim. Though it was not an in-depth view of each and every detail of the buffers in Vim. But enough to make you understand what and how buffers work and how to use them to become more effective. Hopefully, you have understood how to perform movements with buffers and create and delete them with tremendous control over what files you could edit. Thank you for reading till here.
Buffers < Window Splits < Tabs
So from these three articles, we were able to understand the terminology of Buffers, Window Splits, and Tabs. These all are the units of the Vim file system/ Way of grouping Files. We can use buffers to load the file from the memory, we can split various buffers into windows which are all contained in a tab. Some might prefer using buffers, splits, or tabs but hey! what are you even talking about? They are all part of tabs so use everything as per need don't force yourself to use only one thing.
Use buffers for opening few files, if you need to open many files regularly use window splits, If that's not enough use tabs to separate from different folders or directories. Don't stop Viming, Happy Coding :)


